To connect the motors to the ESCs, I used 3.5mm bullet connectors, with heat shrinks. Male connectors on the motors, females on the ESCs. With any power connections, always put the female end on the battery side (the side that power will be coming from) and male connectors on the side that is receiving power. This prevents shorting the battery accidentally.

To get power to all four ESCs, I chose to use an EC5 connectors at the battery, split it four ways, and use EC3 connectors at each of the ESCs. To keep it simple, I soldered all 4 wires into a single EC5 connector, rather than use a power distribution board or start with 2 and then split 2 into 4.
 |
| Finished power harness |
.jpg) |
| Electronic speed controls with female bullet connectors on the motor side, male EC3 connectors on the battery side. |
I recommend getting a set of "helping hands" to help. You can buy them off the shelf at Radio Shack or order them cheaply from Amazon. It makes the whole process a lot easier.
.jpg)
If you're new to soldering, there are a lot of videos on YouTube to help get you up to speed. This one was helpful to me since EC3 connectors, EC5 connectors and bullet connectors are exactly the same when it comes to soldering, and it's a good, quick how-to on how to assemble the connectors:
https://www.youtube.com/watch?v=u8aF3-4uBkQ
Solder a few practice pieces to get familiar if you've never done it before.
I also highly recommend using heat shrink, I got mine at Home Depot for a few bucks per pack.
I don't have a heat gun at home. To shrink the heat shrink, I got this little Bernz-O-Matic butane torch for $9.99 from Home Depot which has a heat gun tip, and also a soldering tip. I haven't tried the soldering tip yet, but I think it's great to have a cordless soldering iron if I need one.
 |
| I cut small pieces of heat shrink, put them over the connectors and hit them with the torch, it makes a nice,clean-looking connection that won't short. |
Even though the 3D printer is down, I have printed enough various quadcopter pieces that I can make a basic mock-up of the quad using what I do have. In fact, everything but the 2 blue arms will probably be used in the final build. The blue arms were test prints that ultimately won't be used. I attached the ESCs to the arms with velcro strips and plugged them into the power harness. The next steps will be that I mount the motors, and connect the radio and flight controller so I can start testing all that stuff.
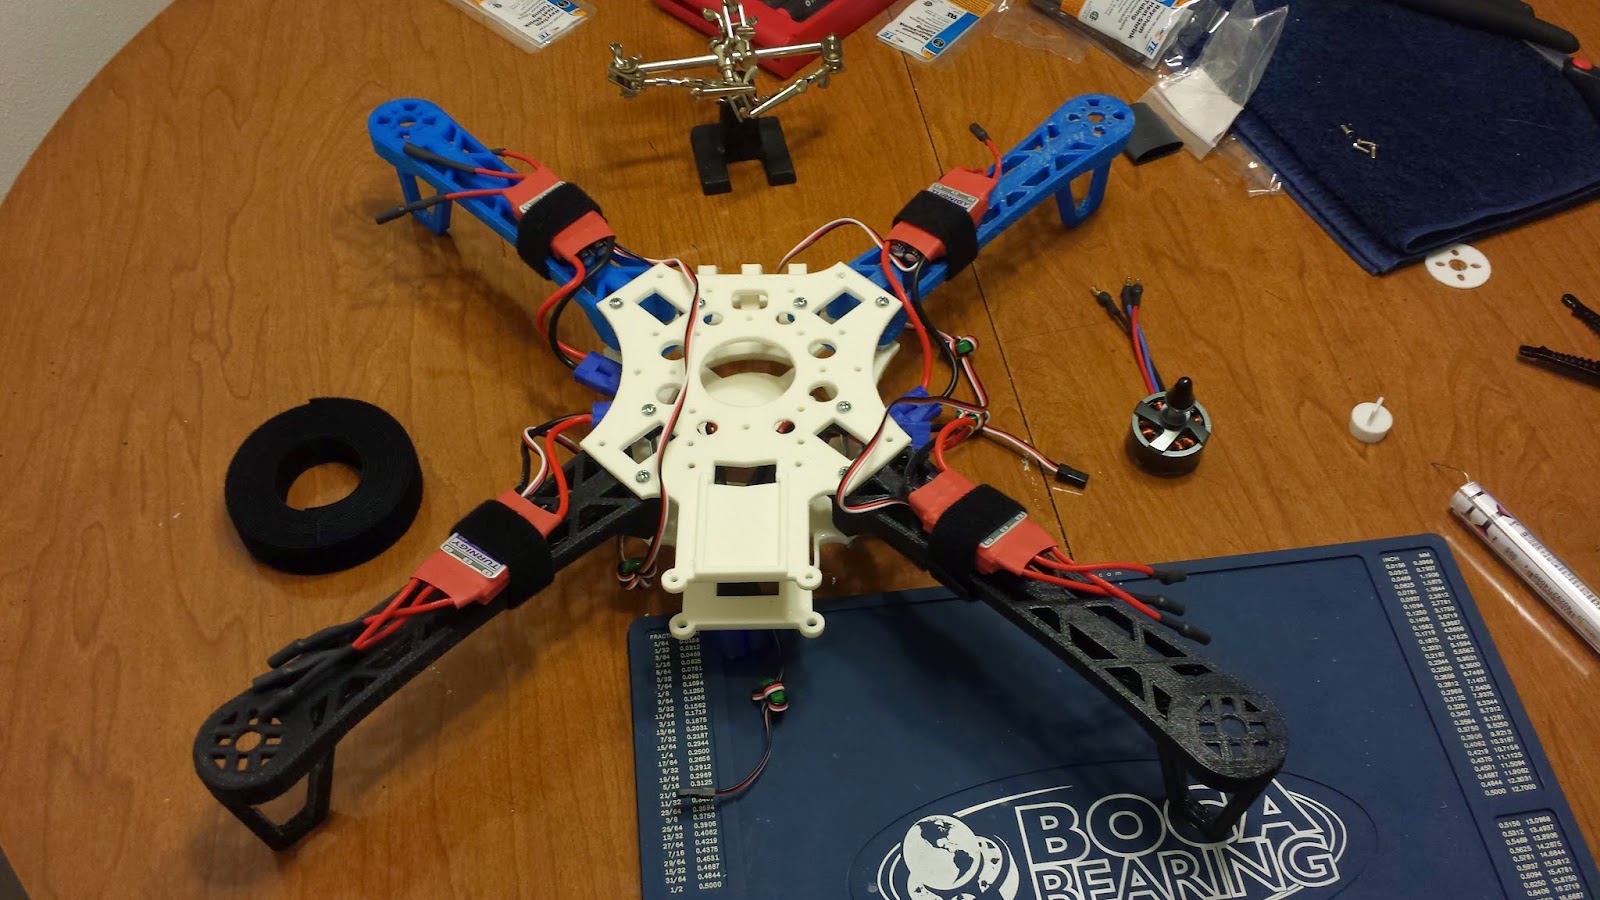 |
| Rough mock-up with ESCs |
No comments:
Post a Comment